Do you need a copy of your PSA birth, marriage, or death certificate or a CENOMAR as soon as possible? or are you requesting it for the sake of someone else’s?
Note that the Philippine Statistics Authority (PSA) has previously imposed an online appointment system for Civil Registration Services because of the pandemic.
As such, all requests of civil registry documents must first be conducted through an online appointment before personally appearing to a chosen PSA outlet.
This initiative has paved way for the PSA to attend to all requests and concerns for the day while simultaneously keeping each outlet safe and healthy place for every customers.
Hence, you can now request PSA Certificates for yourself, your children, or your parents.
The appointment setting system can be availed across the country providing customers the option to choose a PSA outlet near them.
To start your appointment, you can use your laptop, tablet, or mobile phone, it’s not even necessary to download an app.
You may simply log on to https://appointment.psa.gov.ph/ using any browser. PSA reiterated that setting an appointment with them requires no charge.
Below is a comprehensive guide that you may refer to, walking you through setting an appointment online.
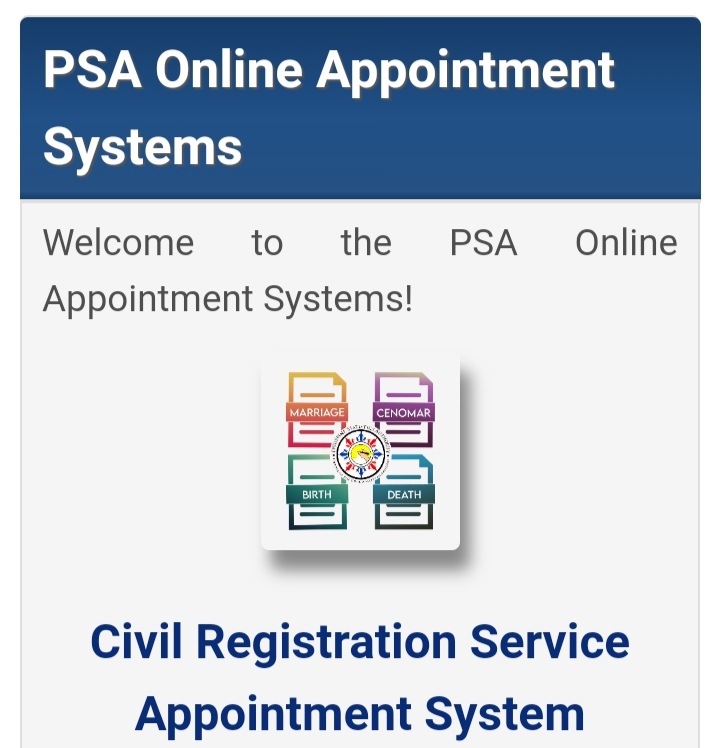
Step 1:
Visit PSA Online Appointment System. Touch the logo just below to proceed.
Step 2:
Scroll through the end and tick the I Agree box if you agree to the terms and conditions indicated.

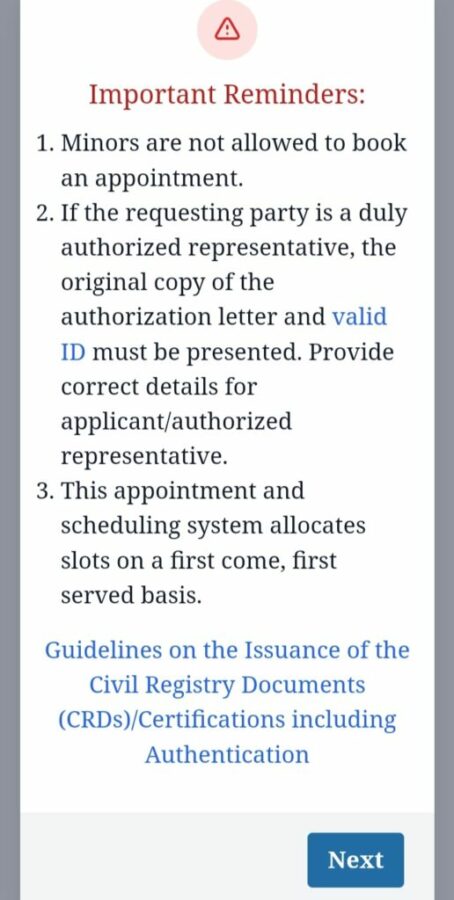
Step 3:
Important reminders will pop up on your screen, if you agree with them simply click Next.
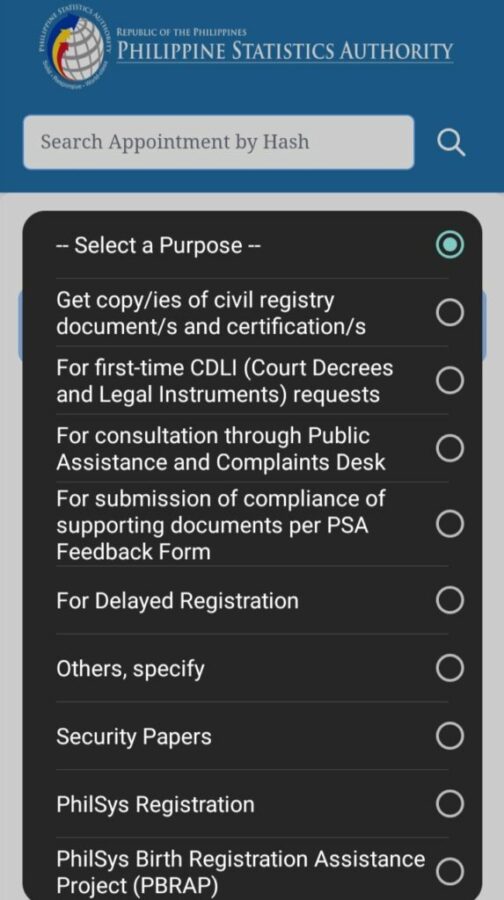
Step 4:
State the purpose of your appointment. Click Get copy/ies of civil registry document/s and certification/s.
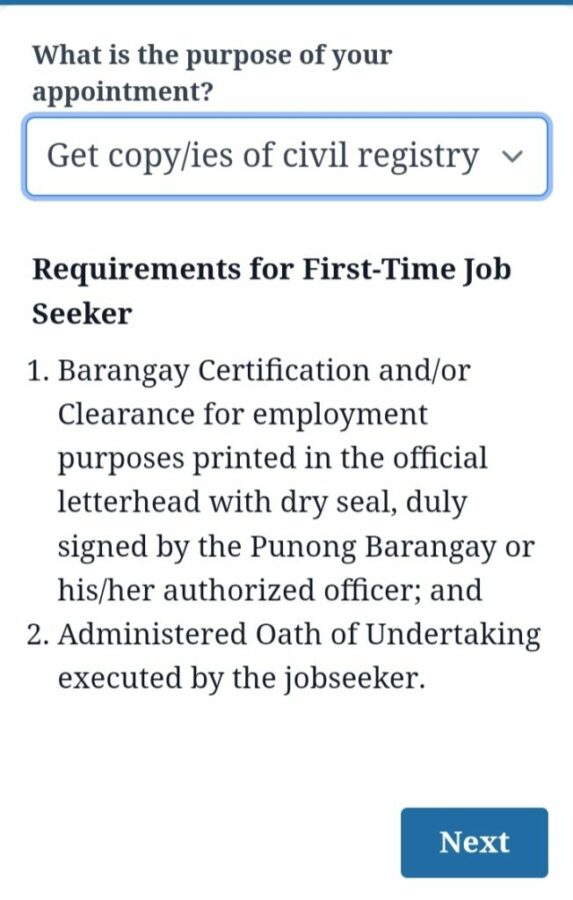
Step 5:
Those first-time job seekers who will get any of the PSA certificates, requirements will be shown on your screen. Just click Next afterwards.
Step 6:
You will be asked to specify the PSA outlet where you want to set an appointment with. Choose the region you are from and then click Next.

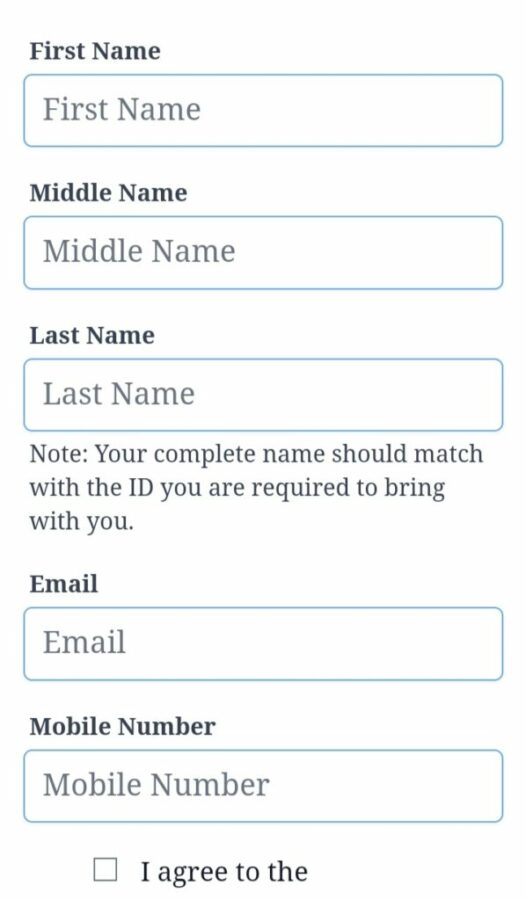
Step 7:
Whether you are making an appointment for someone else’s or requesting for someone else’s certificate, ensure that you are entering the correct information in the field. Once done, tick the box of agreement below.
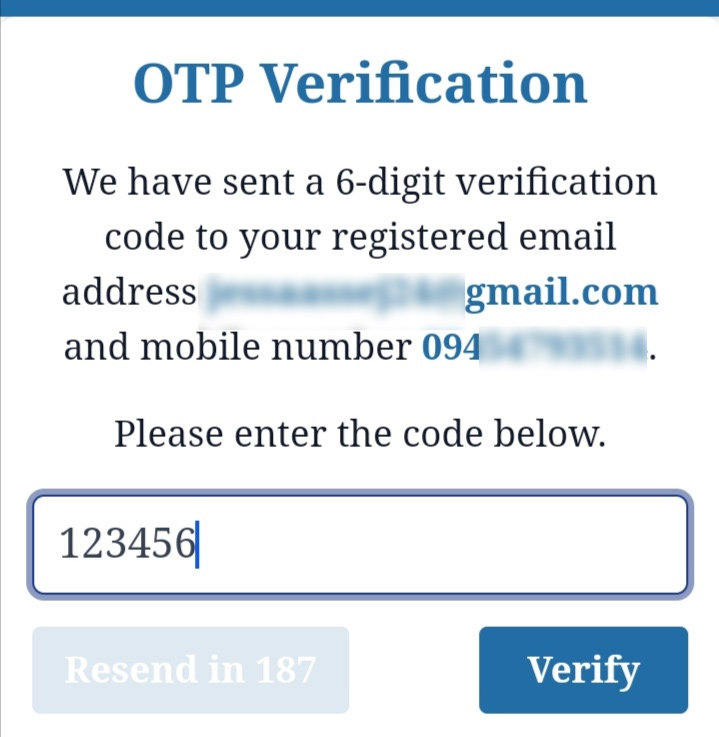
Step 8:
A 6-digit verification code will be sent to your registered email address and mobile number so make sure they are accurate.
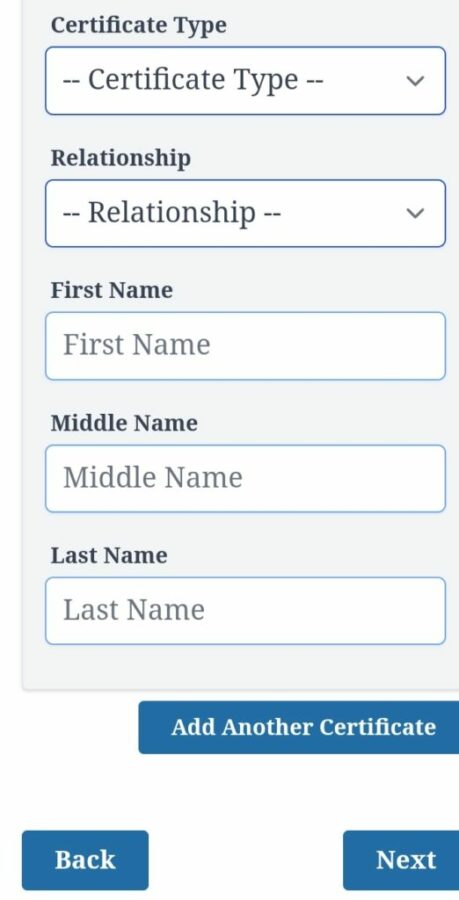
Step 9:
Select the type of certificate you are requesting and fill in the necessary details being asked for. Click Add Another Certificate if you are requesting for multiple certificate then click Next.
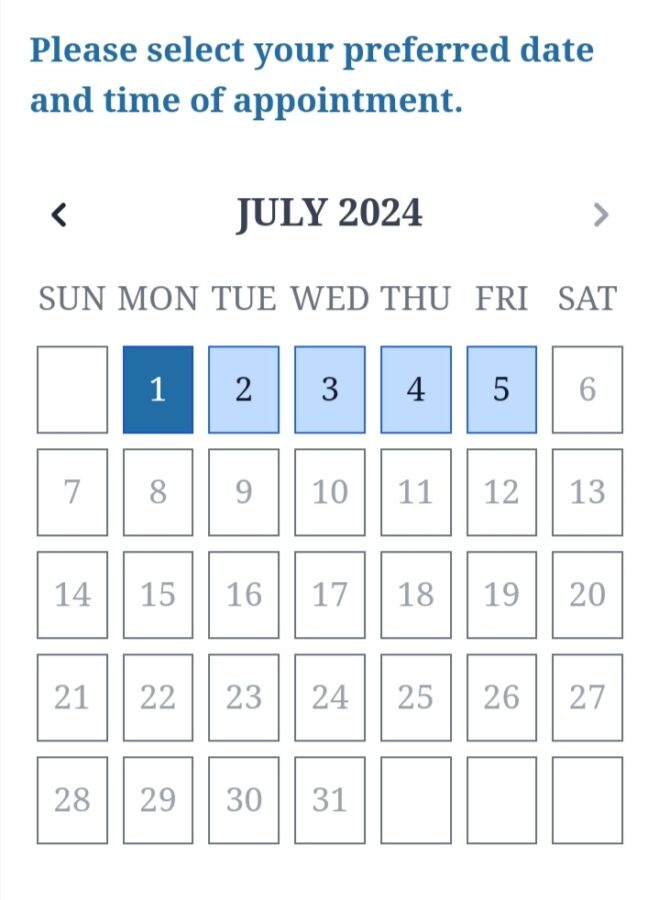
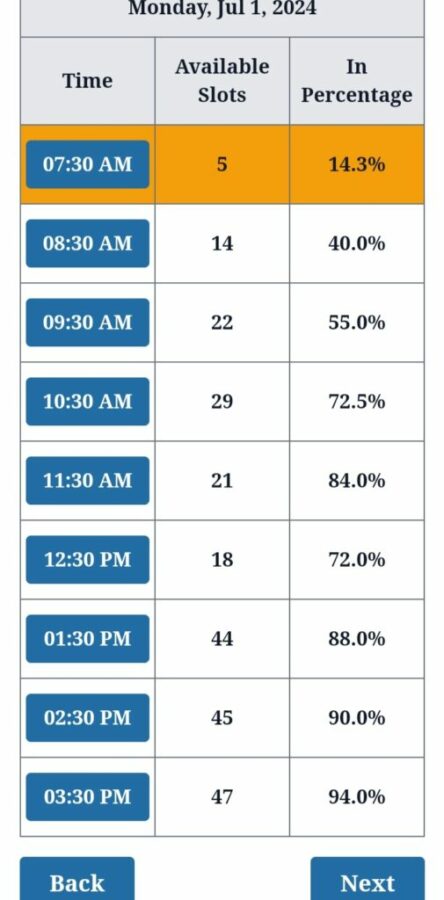
Step 10:
Select your preferred date and time of appointment, make sure that there will be slots available on your select day, if none, then choose another day. Click Next afterwards.
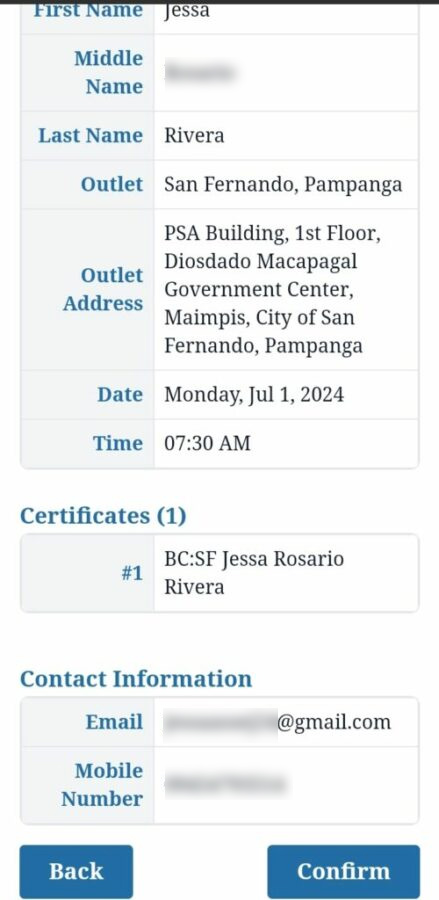
Step 11:
You will be asked to review all your information. Make sure that all your appointment details are correct. Once done, click Confirm.
Step 12:
A confirmation will appear on your screen, reminding you to regularly check your email account for updates on your schedule. Click Next to wrap it all up.

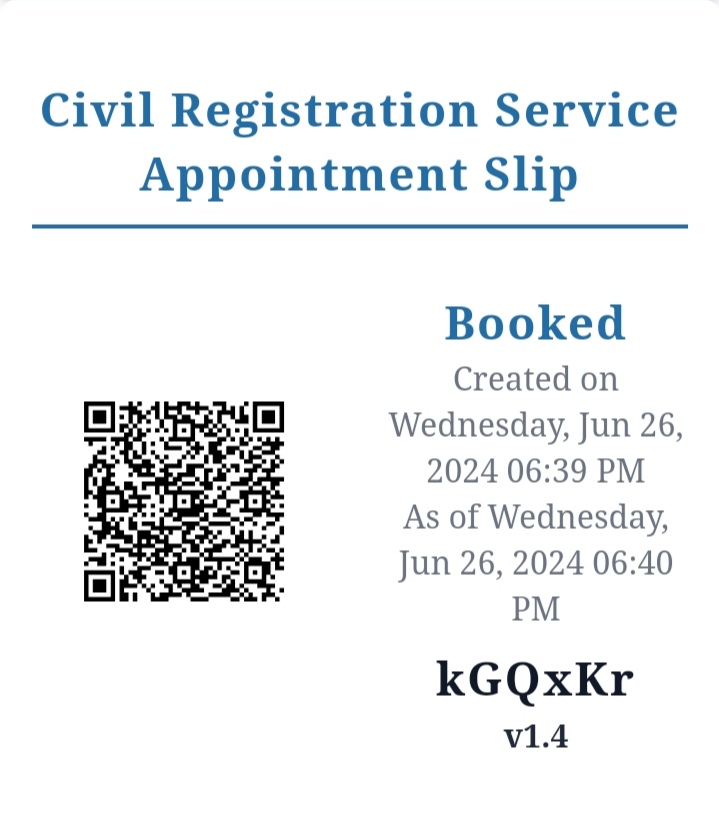
Step 13:
Make sure to present either printed or digital copy of your Civil Registration Service Appointment Slip on your appointment day.
Important reminders:
Reminder 1:
For verification, present the digital or print-out copy of your CRS Appointment Slip to the Information Marshal.
Reminder 2:
Obtain an Application Form and a Queue Ticket Number. Present it to the transacting window accompanied by your payment, valid IDs, authorization letter/SPA if you are requesting for someone else’s, together with other supporting documents.
Reminder 3:
Obtain your Official Receipt. Make sure that all information are accurate.
Reminder 4:
Now, claim your PSA certificate on the settled date and time of release. Go to the Releasing Area. Those who are requesting on behalf of someone else’s, you must present the OR, valid IDs, authorization letter/SPA, accompanied by other supporting documents to the Releasing Officer.
Reminder 5:
Double-check the correctness and completeness of the documents you receive to avoid further conflicts.
Reminder 6:
Bring with you your valid IDs for document owner/s and authorized representative, make sure that it match the names encoded.
Reminder 7:
Basic fees include:
Copy issuance, Authentication and Annotation of Birth, Marriage, and Death Certificates: Php 155 each copy
CENOMAR: Php 210 each copy
Reminder 8:
Note that those authorized representatives don’t have the right to delegate another person under his/her authority to request for the civil registry documents.
Reminder 9:
Note that those authorized representatives are only allowed to request for two (2) unrelated individuals.
Reminder 10:
Under regulations, minors are prohibited in booking an appointment online.
Reminder 11:
Securing an appointment bears no charge and CRS appointment slip is non-transferrable.
Reminder 12:
Those who have concerns and inquiries, you must only have transaction with authorized PSA personnel.
___
There you go! Make sure to follow this guide to make a hassle-free transaction with PSA regarding your certificates!