Before, when we wanted to make the ISO installer bootable, we burned it to CD/DVD. But today when all the laptop manufacturers have started to make thin laptops like the ultrabook, in which they remove the CD ROM drive to fill all the components, having an installer on a CD is not an option.
Although you can use the external CD ROM drive to install the CD, it is better to use a USB stick directly as a bootable device that you can easily plug into any computer that has a USB port.
Read Also: How to Erase or Format Write protected USB stick or SD Card
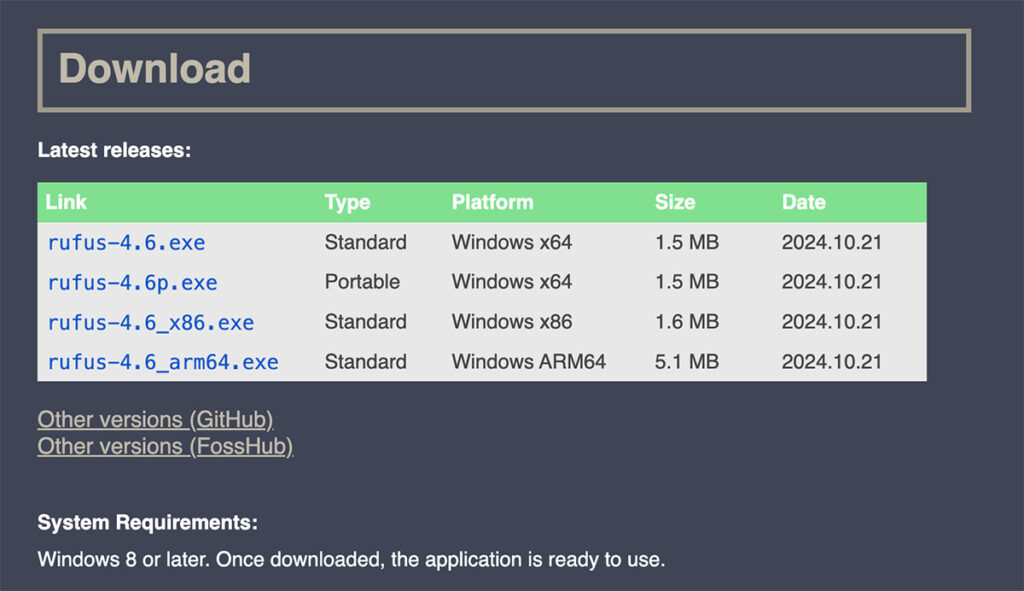
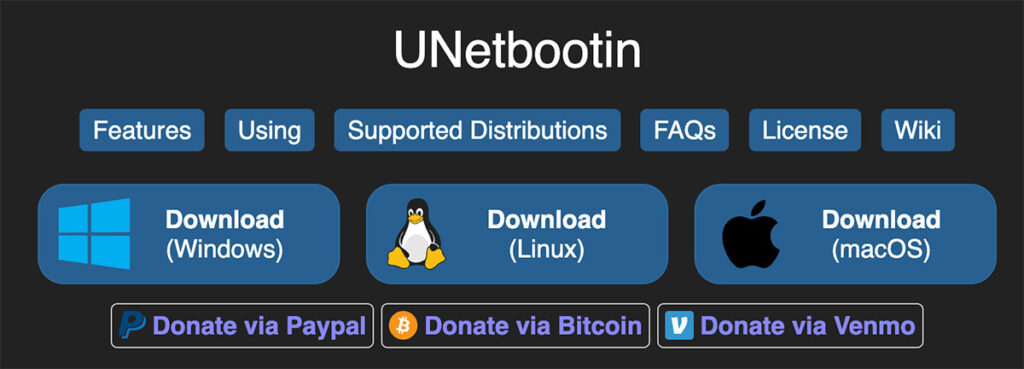
But how to make USB bootable? In this article, you will learn it the easy way, as always. We will use a free software called Rufus for Windows and UNetbootin for Mac to create a bootable USB.
How to Create a Bootable USB
Creating a bootable USB drive is useful for installing operating systems, running live environments, and even recovering data. Here’s a step-by-step guide to create a bootable USB drive, with instructions for Windows, macOS, and Linux.
1. What You’ll Need
- A USB drive: Ideally 8GB or larger, depending on the OS you’re using.
- ISO file: Download an ISO file of the OS you want to install (such as Windows, Linux distributions, etc.).
- Software tools: Different tools are available for Windows, macOS, and Linux to make a USB bootable.
2. Steps for Each Operating System
A. Using Rufus on Windows
Rufus is a free and user-friendly utility that works great for creating bootable USBs on Windows.
Step 1. Download Rufus: Get it from the official Rufus website.

Step 2. Insert the USB Drive: Insert the USB into your computer (ensure you back up any data on it, as the process will erase the drive).
Step 3. Open Rufus:
- Select your USB drive from the “Device” dropdown.
- In the “Boot selection” section, choose Disk or ISO image and click Select to browse to your ISO file.
- Under “Partition scheme,” choose MBR (for older BIOS systems) or GPT (for newer UEFI systems).
Step 4. Start the Process
Click Start to begin creating the bootable USB. Confirm the warning prompt about erasing data on the USB.
Once Rufus finishes, your USB drive is now bootable.
B. Using UNetbootin on macOS
UNetbootin is a cross-platform tool that works well for creating bootable USB drives on macOS, especially for Linux distributions.
Step 1. Download UNetbootin from unetbootin.github.io.

Step 2. Insert the USB Drive: Make sure your USB drive is plugged in and any data on it is backed up.
Step 3. Run UNetbootin
In UNetbootin, select Diskimage and browse for the ISO file. Select your USB drive as the target drive.
Step 4. Create the Bootable USB
Click OK to start creating the bootable USB drive. Wait for the process to finish.
C. Using the Terminal on Linux
Linux has built-in utilities that make creating a bootable USB drive straightforward, especially through the dd command.
Step 1. Insert the USB Drive: Plug in the USB and identify its path with the lsblk command.
Step 2. Run the dd Command:
Use this command, replacing /path/to/iso with the path to your ISO file, and /dev/sdX with your USB’s device path: sudo dd if=/path/to/iso of=/dev/sdX bs=4M status=progress
Note: Be careful to use the correct device path to avoid data loss on other drives.
Once complete, your USB should be bootable.
Frequently Ask Questions (FAQ)
Here are some common questions people have about creating a bootable USB:
1. What does it mean to make a USB bootable?
A bootable USB drive contains files and settings necessary for your computer to load an operating system (OS) directly from the USB. This allows you to install, repair, or test an OS without having to load your existing system.
2. What software can I use to make a USB bootable?
Windows: Rufus, Balena Etcher, Windows Media Creation Tool.
macOS: UNetbootin, Balena Etcher, Disk Utility (for macOS installations).
Linux: dd command, Startup Disk Creator, Balena Etcher.
3. Why won’t my USB boot after making it bootable?
- Compatibility: Ensure the OS is compatible with your system’s architecture (32-bit vs. 64-bit).
- BIOS/UEFI Settings: Check BIOS/UEFI settings to ensure the USB is set as the first boot device and secure boot is disabled (if necessary).
- Partition Scheme: Verify the USB’s partition scheme (MBR for BIOS and GPT for UEFI).
4. How much space is required on a USB drive to make it bootable?
Most operating systems require at least 8GB of storage, though some minimal or specialized distributions may need less.
5. Can I use the USB for storage after making it bootable?
Yes, but it depends on the method used to make it bootable. Tools like Rufus offer a “persistent storage” option for Linux distributions, allowing you to store files and changes between boots. However, storing additional data on the bootable USB can be tricky if the drive was formatted in a way that leaves little space for other files.
6. How can I test if my USB is bootable?
Boot directly from the USB drive on your computer by restarting it and selecting the USB from the boot menu. Alternatively, you can use virtualization software like VirtualBox to test boot from the USB within a virtual environment.
7. Can I make a bootable USB for multiple operating systems?
Yes, with tools like Ventoy or YUMI, you can create a multiboot USB containing multiple OS images, allowing you to choose which one to boot from.
8. Is it possible to create a bootable USB from a Mac for Windows?
Yes, you can use tools like UNetbootin or Boot Camp Assistant (for macOS) to create a Windows-compatible bootable USB on a Mac.
9. Can I use the same USB to install Windows on multiple computers?
Yes, as long as the USB is configured correctly and remains unmodified, it can install Windows or any OS on multiple systems.
10. How long does it take to make a USB bootable?
It varies based on the OS, the ISO size, and the USB’s read/write speed. Generally, creating a bootable USB can take anywhere from 5 to 30 minutes.
More helpful tutorial from EfrenNolasco.com